“Black Myth: Wukong” Chapter 1: Black Wind Mountain BOSS Battle Guide
In the first chapter of Black Myth: Wukong, “Heifeng Mountain”, you will face several formidable bosses such as the Giant Bull Demon, Phantoms, and Guangzhi. This article provides a detailed analysis of each boss’s skills and weaknesses, offering effective combat strategies and practical tips to help you easily overcome these tough enemies. (For a full walkthrough of Heifeng Mountain, please refer to: “Black Myth: Wukong” Chapter 1: Complete Walkthrough for Black Wind Mountain)
I. Blue Ox Giant Demon
Positioning: A relatively easy-to-handle elite monster, completely blue in color, robust and burly, wielding a large halberd.
Threat Level: ★
Combat Moves: Vertical Slash, Horizontal Sweep
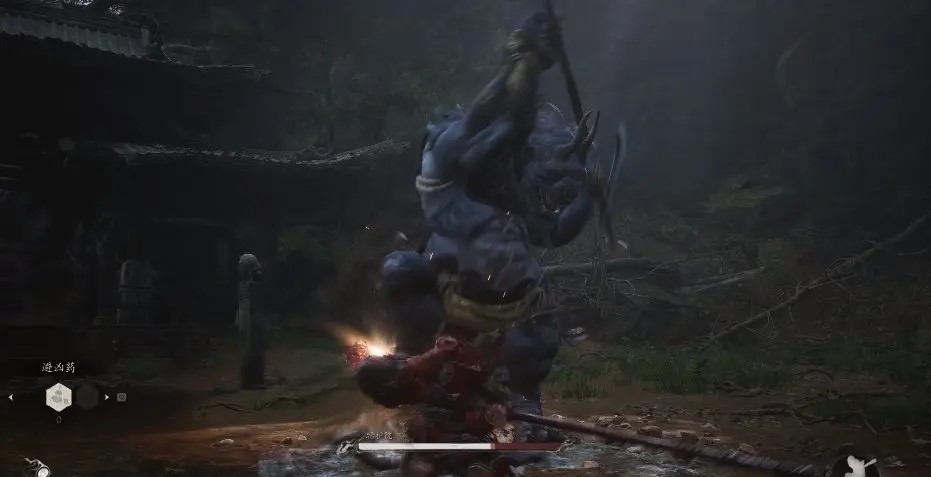
Battle Experience: The Blue Ox Giant Demon attacks in wide arcs, with a massive weapon and considerable damage. However, due to its bulky body and significant post-attack lag, its moves are easy to predict. Whether it’s the vertical slash or the horizontal sweep, you can roll away during the halberd swing, and with some luck, even achieve a perfect dodge.
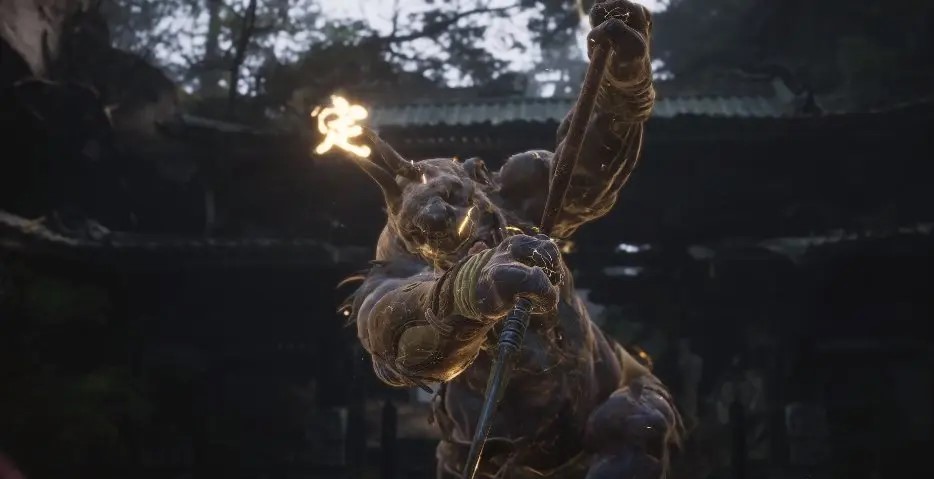
Additionally, since this fight serves as the tutorial for the Earth God’s immobilization technique, after entering the cutscene, you can easily break through by using the immobilization method.
II. Specter (Green Big-Headed Monk)
Positioning: Compared to the Blue Ox Monster, this one is several levels stronger. A slight mistake can lead to instant death, so caution is advised.
Threat Level: ★★★☆
Combat Moves: Charge Attack, Spinning Strike, Golden Palm, High Leap Attack, etc.
Battle Experience: The sequence of moves is not fixed, so you need to observe the boss’s initial actions to respond accordingly.
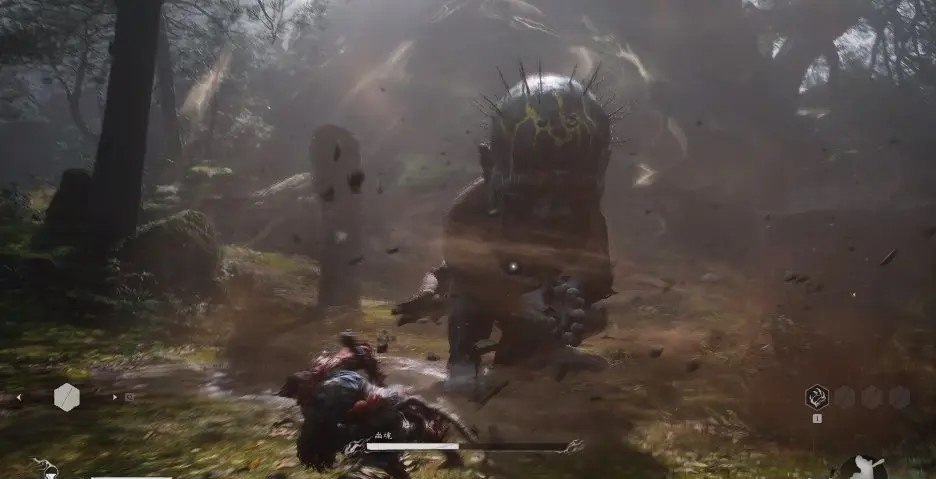
Charge Attack: The Big-Headed Monk charges at the player, and upon reaching them, uses its arms as weapons, striking from both the left and right sides. If hit, significant health will be lost. The only way to counter it is to dodge (pay attention to the starting posture of the charge).
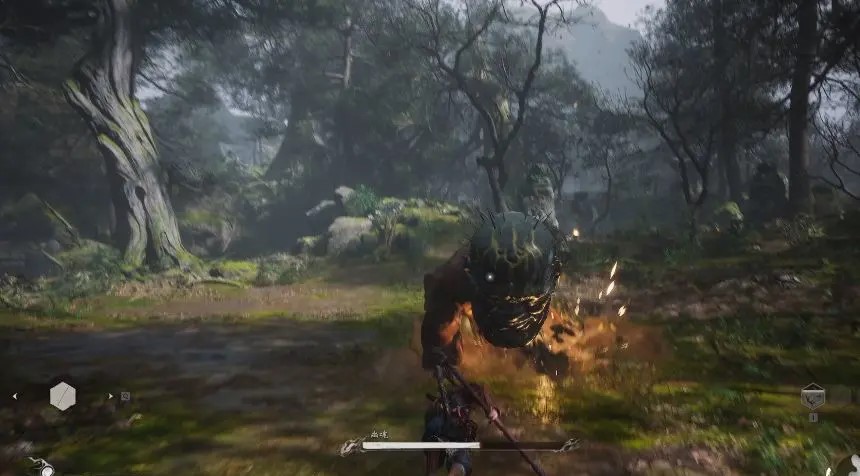
Spinning Strike: A basic attack method of the Big-Headed Monk, consisting of about three phases: spinning body slam, arm strike, and a straight palm push. There are no variations in speed, so you can easily roll to dodge.
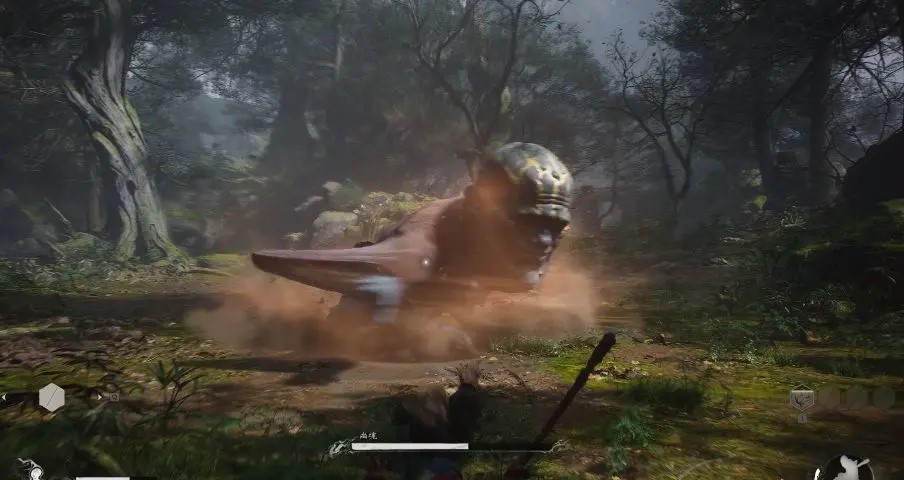
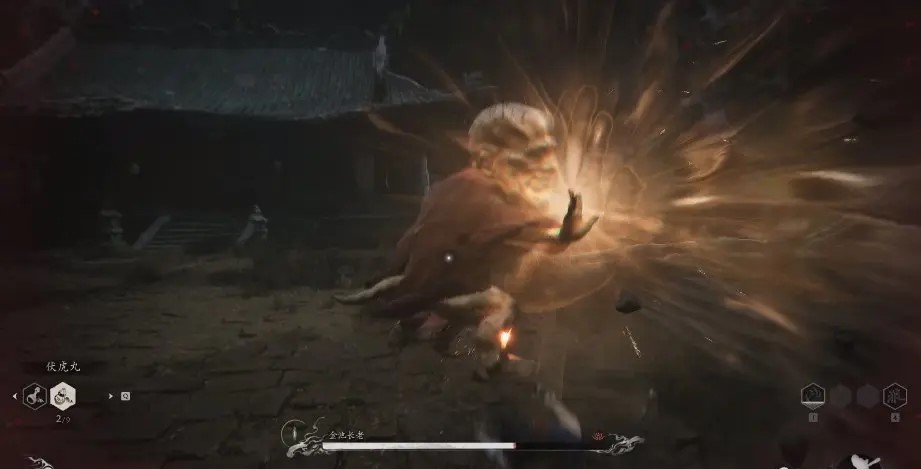
Golden Palm: A combo attack frequently used by the monk after a series of straight palm strikes. Its power is immense and should not be underestimated. It manifests as a golden light followed by a forward palm thrust, releasing a shockwave. (Note the hand-raising motion and roll in time).
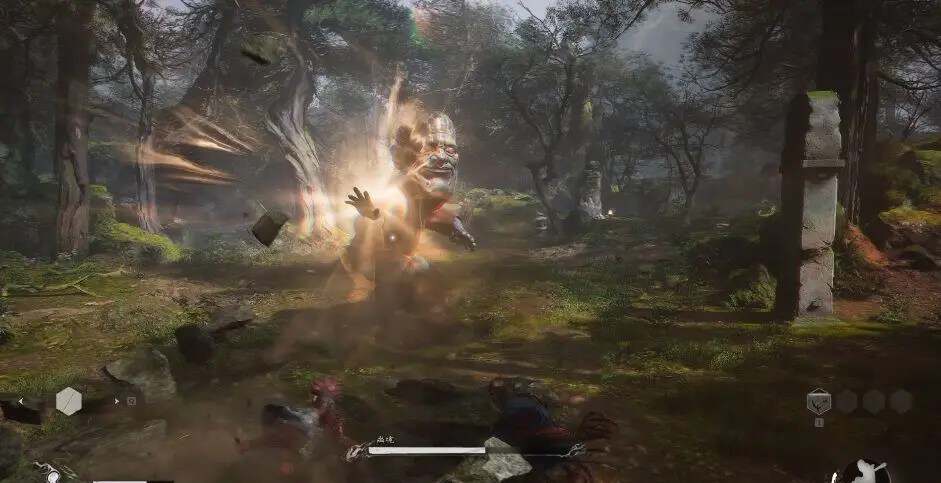
High Leap Attack: A deadly move, with three palm strikes in total; two hits could spell death. However, it is manageable—unlike other games, getting hit by the first strike won’t automatically lead to more damage. The player can quickly roll back after the first hit to escape the attack range.
During the battle, you can rush forward and unleash a flurry of staff strikes. When the enemy is about to start an attack, use the Earth God’s immobilization method to freeze it in place and continue the combo. After these two moves, you should be able to land a powerful jump slash, breaking the monk’s defense and knocking it down temporarily.
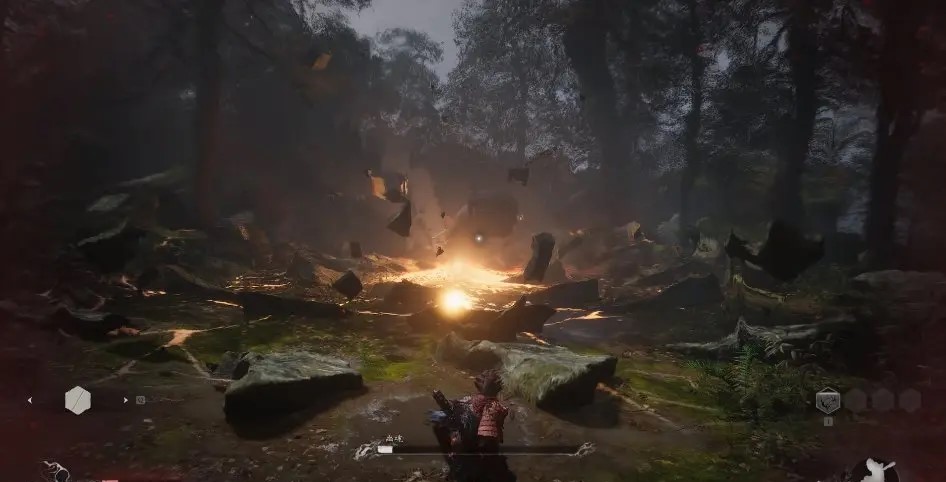
Afterward, it will be the enemy’s turn to attack again. You must carefully observe its hand-raising movements. If it’s preparing for the Golden Palm or High Leap Attack, dodge immediately. If hit, quickly replenish your health. After this phase, whether you choose to wait for the immobilization cooldown or continue the fight with staff strikes is up to you.
III. Guang Zhi (Wolf Demon Leader)
Positioning: Not as strong as the Big-Headed Monk, but still requires caution. Defeating it should not be a problem with careful handling.
Threat Level: ★★☆
Combat Moves: Four Fire Blades Slash, Weapon Throw, Dive Attack, Sprint Strike

Battle Experience: Guang Zhi’s strength lies in his attribute boosts and speed. His attack power is moderate, but he is fast and can use fire blades to put the player in a burning state.
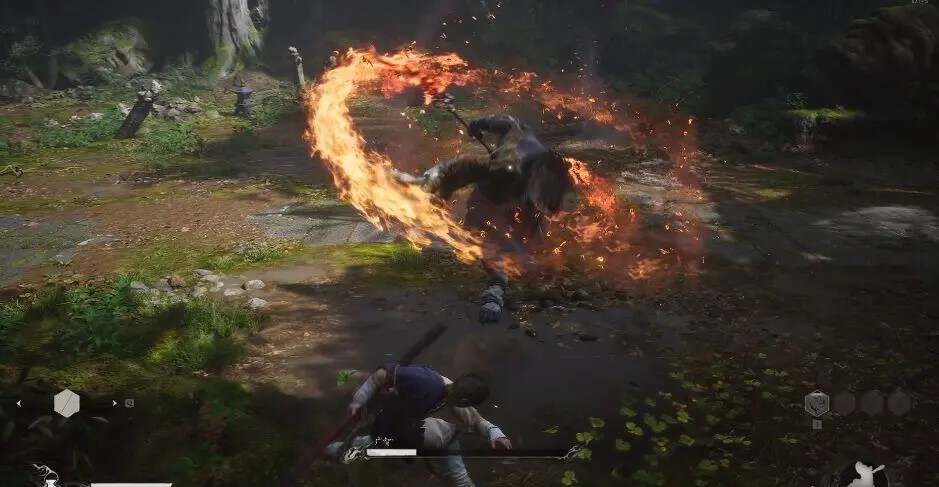
Four Fire Blades Slash: Guang Zhi raises his fire blade and performs four consecutive jumping slashes. There is no variation in speed, so you just need to roll based on the downward slash movement. Be aware that the final slash is an empty jump, so timing your roll correctly is crucial.
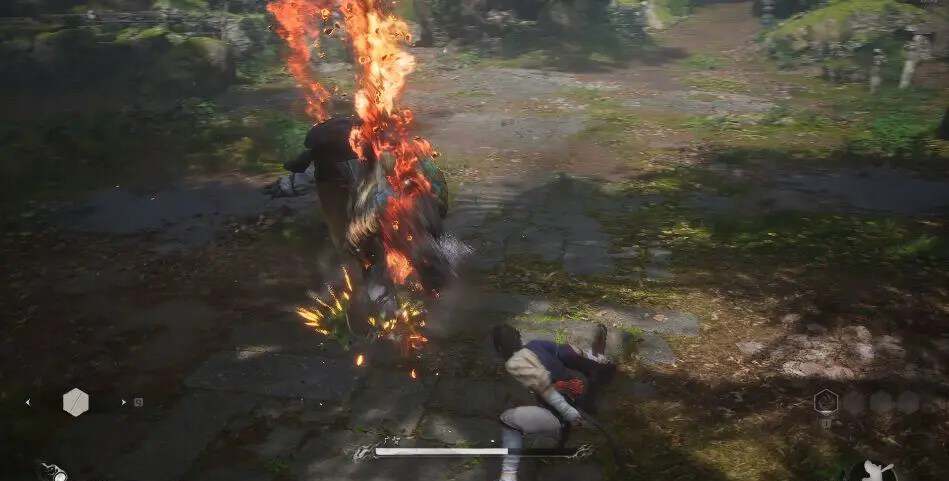
Weapon Throw: From a distance, Guang Zhi forcefully throws the fire blade and retrieves it. If you don’t roll in time, you’ll be hit, so pay attention to his hand-raising gesture.
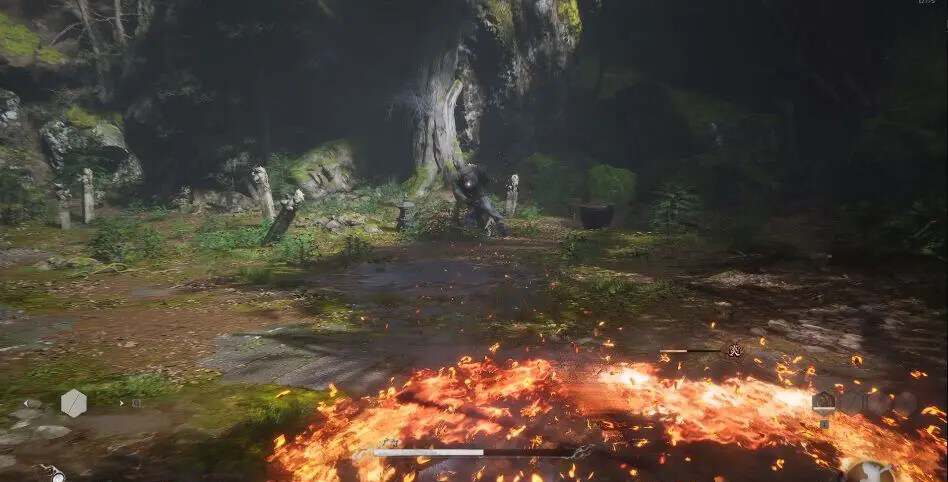
Dive Attack: In addition to throwing his weapon, Guang Zhi will dive down with his fire blade in a swooping motion like an eagle catching prey, skimming the ground. You need to dodge based on his flight path.
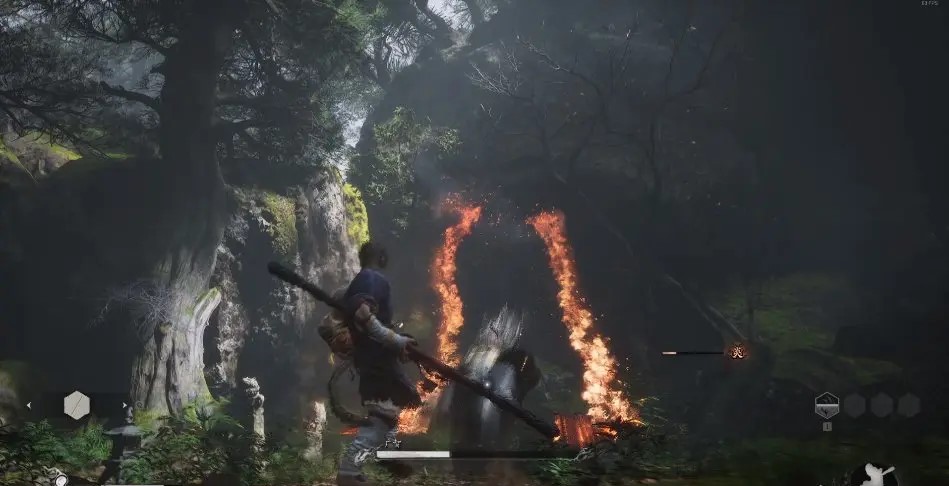
Sprint Strike: A multi-hit sprint attack with the fire blade, very fast. If you fail to dodge, quickly use a health gourd to recover.
Guang Zhi’s attack rhythm is fast, and his attacks have a fire attribute. Once the fire meter builds up, the player will enter a burning state, gradually losing health. The key points to watch for are the rhythm of his four consecutive slashes and the timing of dodging his dive and sprint attacks.
IV. Ling Xuzi (Great Demon King)
Positioning: The first true BOSS in the game, massive in size and fearsome, embodying both strength and power.
Threat Level: ★★★☆
Combat Moves: Howling Roar, Mount Hua Smash, Bite, Giant Claw Slam, etc.
Battle Experience: It is best to use the recently learned 72 Transformations technique to mimic monsters. Using Guang Zhi’s fire blade to deal some damage, combined with the immobilization spell, will make it easier to defeat.
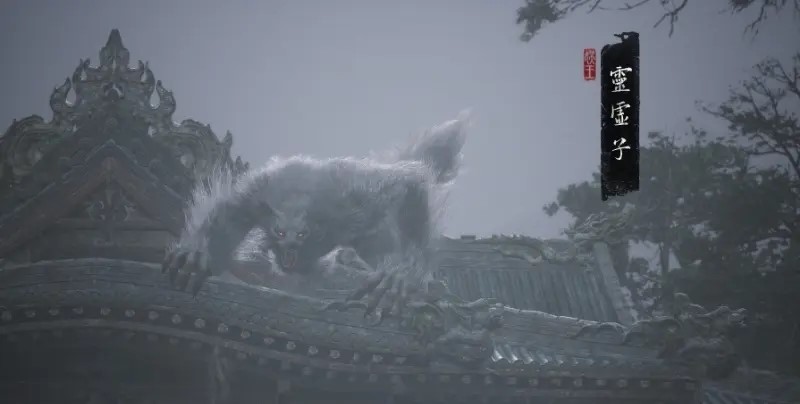
In general, the Wolf King Ling Xuzi’s attacks are wide and powerful. He lifts his giant white-furred claws and smashes them down heavily on the player, dealing massive damage.
He moves like a large dog, attacking with his giant claws while sidestepping or rolling. His fierce attacks carry a lazy undertone. Sometimes he howls to attack, and other times he lowers his head and lunges to bite you.
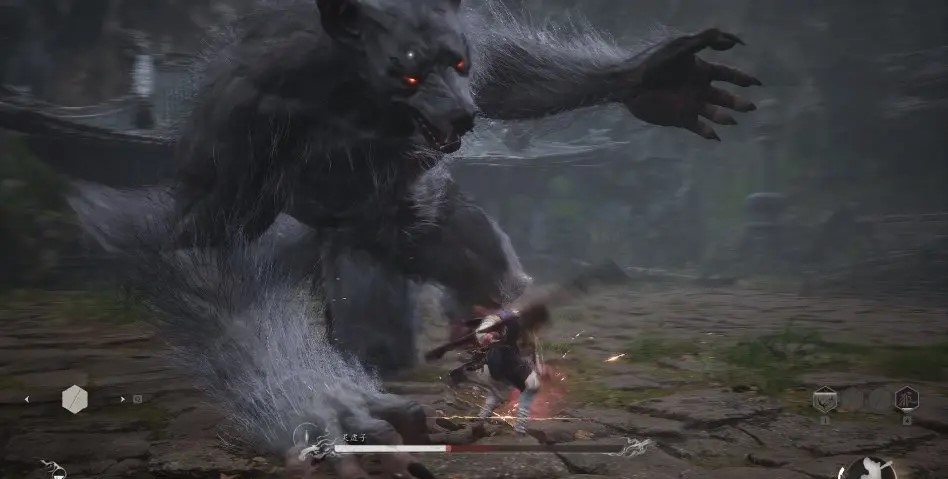
His ultimate move is the Mount Tai Smash. After leaping onto nearby temple rooftops, Ling Xuzi jumps between them and, when the player is unprepared, crashes down with his massive body, dealing tremendous damage.
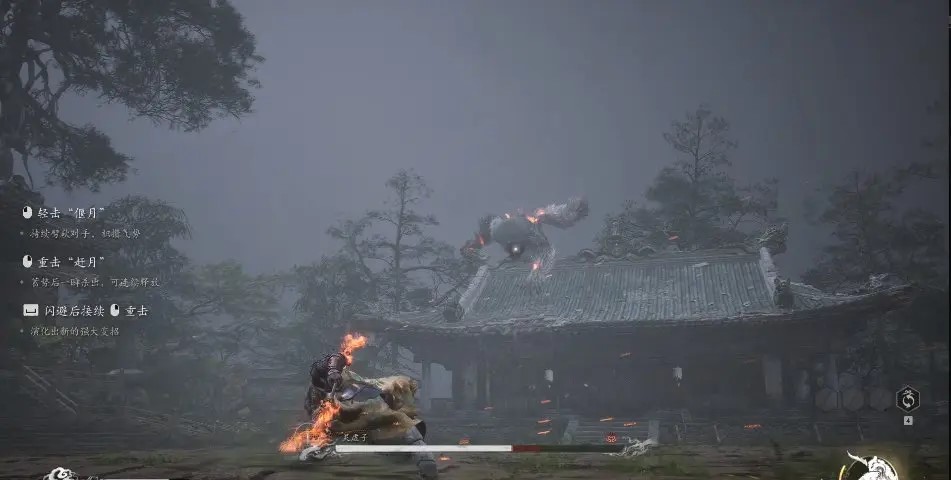
The strategy for fighting Ling Xuzi can involve using staff strikes to break his defense with a jump attack or using the immobilization technique to freeze him and follow up with an all-out assault. It’s highly recommended to use Guang Zhi’s fire blade for repeated slashing attacks to ignite the Wolf King. In this transformed state, the Monkey King’s health will not decrease.
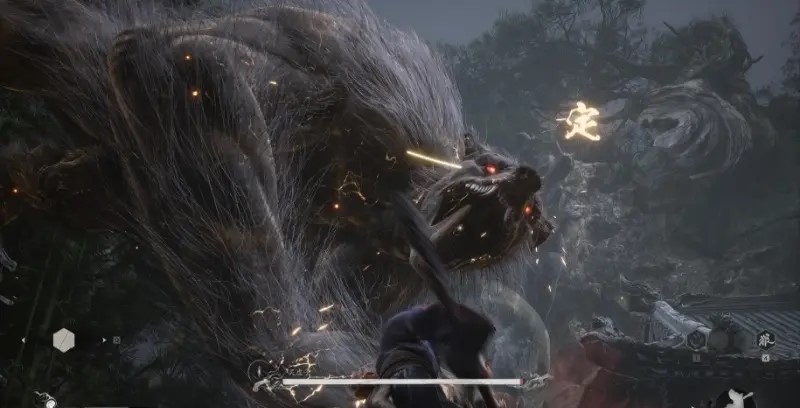
V. Guang Mou
Positioning: The Black Wind King sent three trusted generals to guard key areas in the mountains. Guang Zhi has been defeated, leaving only Guang Mou and the White-Clothed Swordsman.
Compared to a mage, Guang Mou prefers to use sinister techniques to gain the upper hand, and his skills are poisonous, so caution is required.
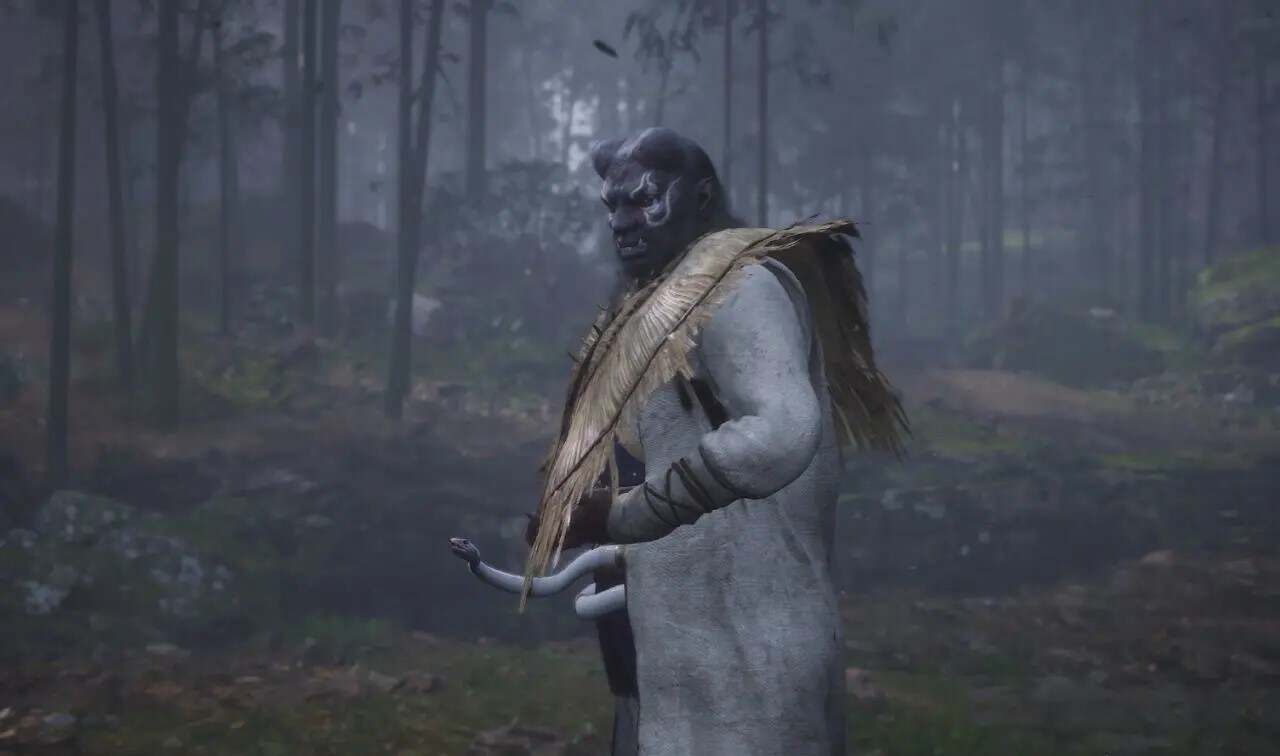
Threat Level: ★★★
Combat Moves: Slaughter Combo, Barrage of Projectiles, Snake Summon, Teleport Strike
Battle Experience: Guang Mou can hardly be called honorable. Right after finishing his conversation with the player, he immediately raises his hand to unleash a series of attacks, including Barrage of Projectiles, Teleport Strike, and Poison Spray. Many players who are caught off guard are killed during their first encounter.
1.Barrage of Projectiles: Guang Mou releases 10 projectiles at the player, with some tracking if the player is in front. You must quickly roll to the sides to avoid the projectiles and create more space between them.
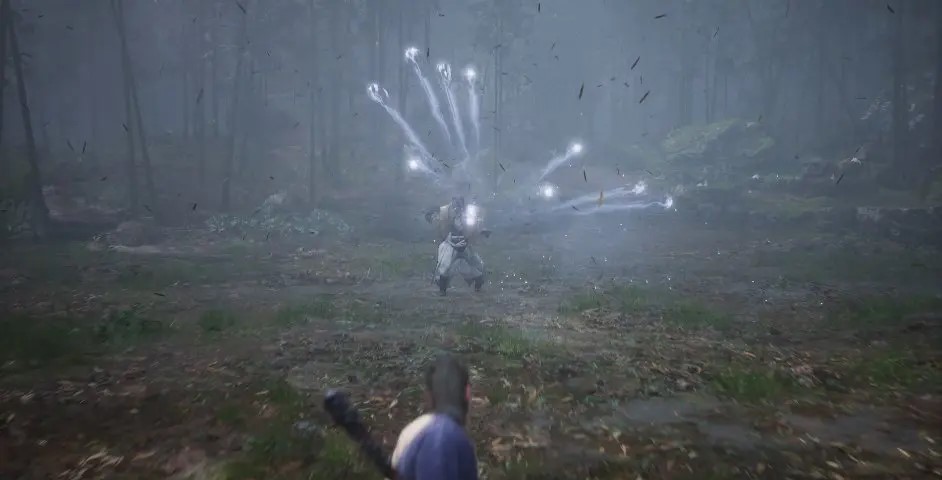
2.Teleport Strike: Guang Mou steps into the void and reappears near the target, striking fiercely. Watch for the glowing light around the player, and when it appears, dodge immediately.
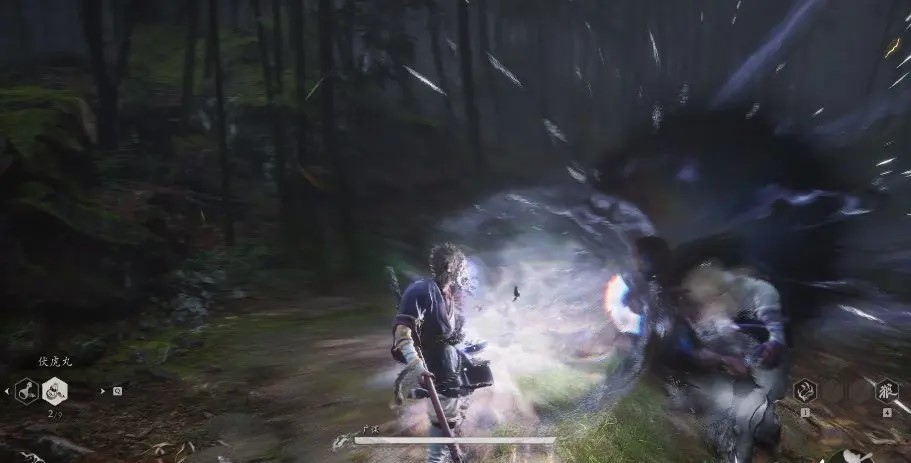
3.Snake Summon: He summons several poisonous snakes to attack. The snakes will spray poison based on the player’s movement. Handle this similarly to the Barrage of Projectiles, increasing the distance to avoid the attacks.
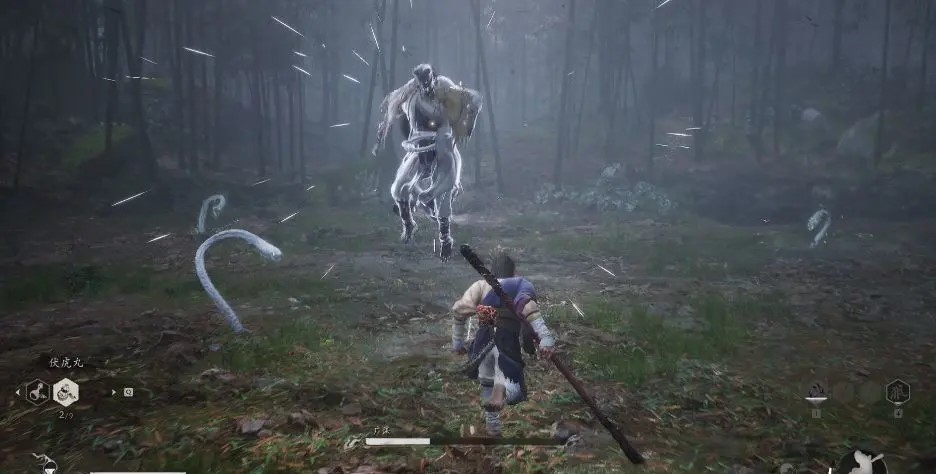
In summary, Guang Mou’s attacks are sneaky and unpredictable. Using the transformation technique to morph into Guang Zhi and attacking with fire blade rushes is a very effective strategy. Follow up with the immobilization spell when appropriate, and be cautious of overextending. Pay close attention to dodging during his teleport strikes, and you’ll be able to take him down head-on.
VI. White-Clad Scholar
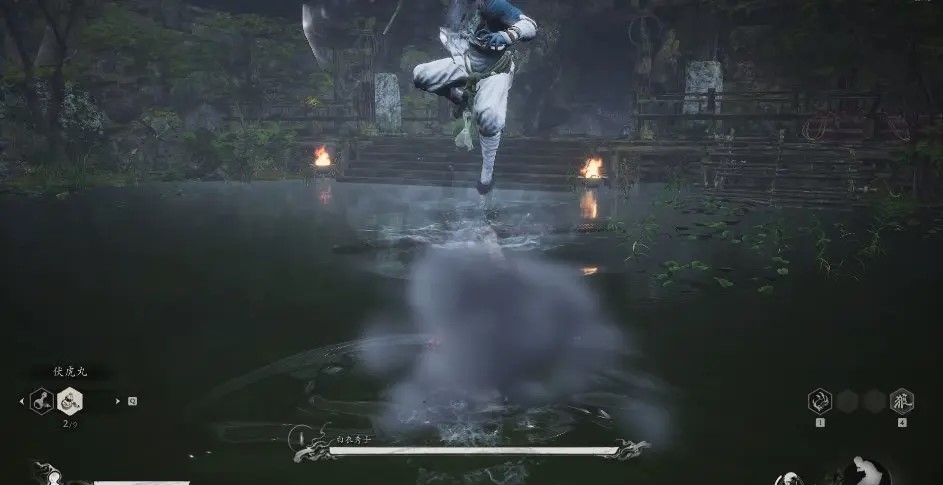
Positioning: One of the few powerful bosses in Black Wind Mountain, and the only opponent in Chapter One with two lives, making him a difficult adversary. He is a swift, aggressive warrior who specializes in dash-type skills, leaving countless defeated souls in his wake.
Threat Level: ★★★★☆
Combat Moves: Jumping Thrust, Splash Thrust, Straight Thrust, Side Swipe, Surging Waves, Vertical Water Blade, Spear Throw, Water Barrage, Water Blade Sweep, Heavy Diagonal Slash, etc.
Battle Experience: Intimidating, isn’t it? So far, this is the boss with the most skill variety. Simply memorizing his attacks won’t suffice. The only reference you can rely on is understanding the skill patterns and their damage range.
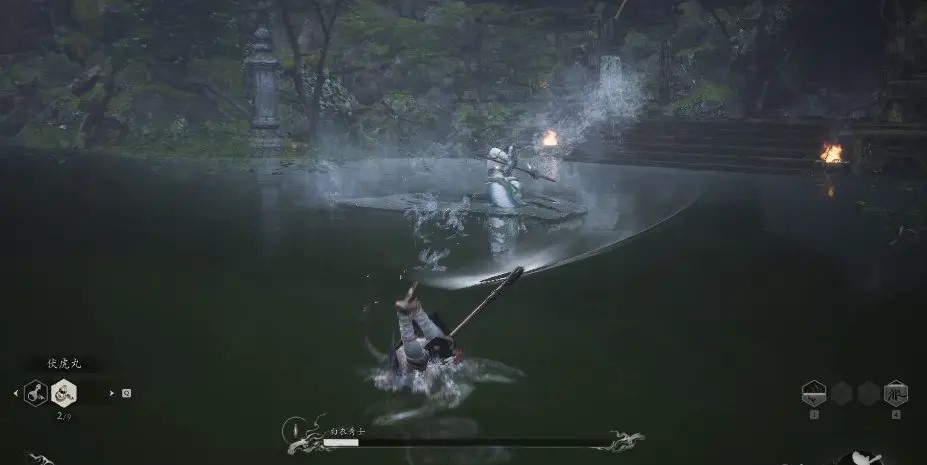
Standard Combos: White-Clad’s combo sequences are not fixed, and even in his human form, the order can vary. However, they generally follow these patterns:
Jumping Thrust – Side Swipes – Straight Thrust – Side Strike; or Left/Right Slash followed by a Heavy Diagonal Slash. These attacks are not fatal, and dodging once or twice during the combo will allow you to retreat safely. Just make sure to heal as needed.
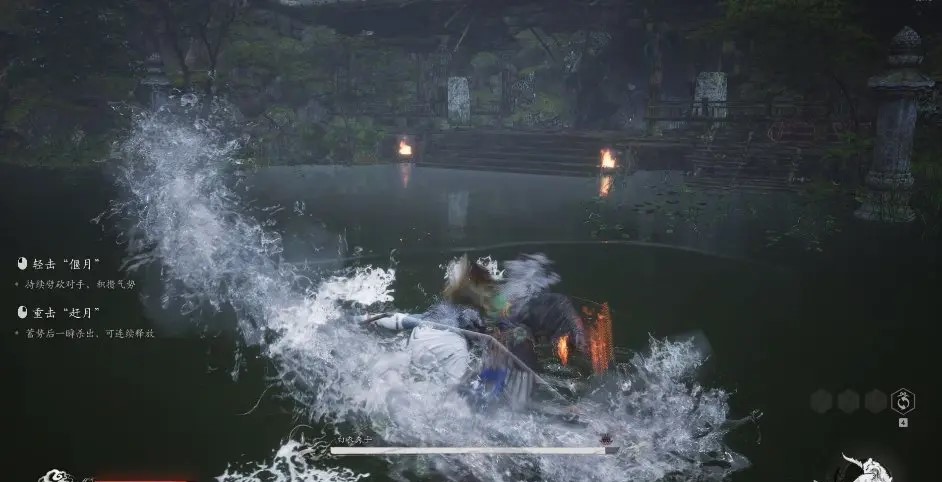
Surging Waves (Secondary Explosion): White-Clad pauses briefly and unleashes a heavy strike, causing water waves to surge around him, followed by a delayed explosion that deals secondary damage.
If you fail to dodge the first wave, quickly roll away to avoid the second explosion. Otherwise, it could be fatal.
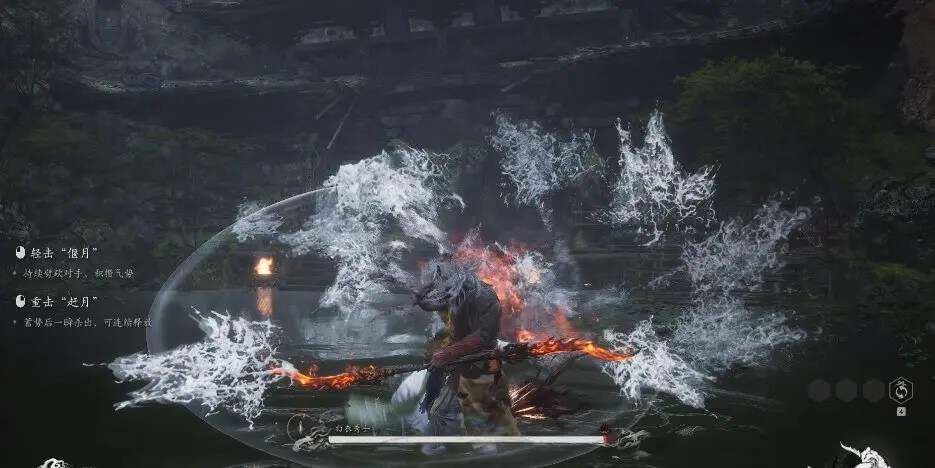
Vertical Water Blade: White-Clad steadies himself and swings his long weapon at the target, sending out wide vertical water blades after a short delay. This skill has a wind-up. As soon as you see White-Clad stop moving and twirl his weapon, get ready to dodge. There’s usually enough time between the water blade’s release and its impact for the player to react.
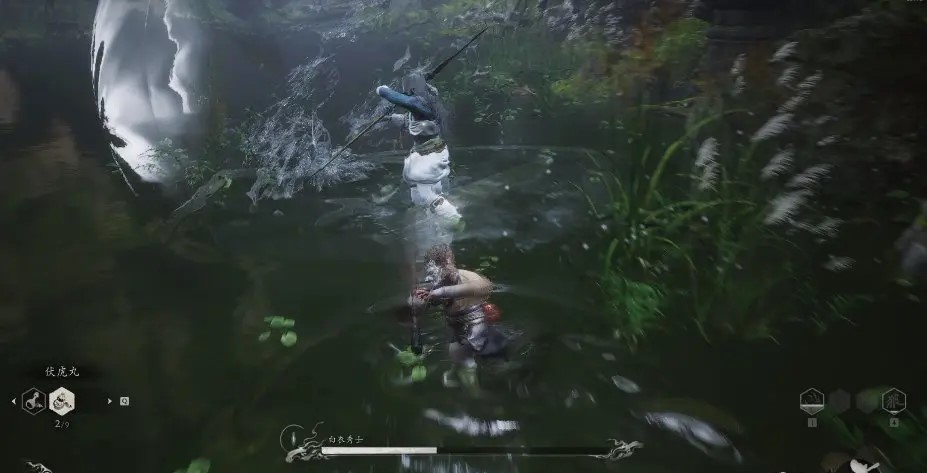
Spear Throw: While leaping backward, White-Clad throws his weapon with force. Upon striking the target, it triggers a large explosion. This is an instant skill and is difficult to dodge. It requires precise timing and intuition to avoid.
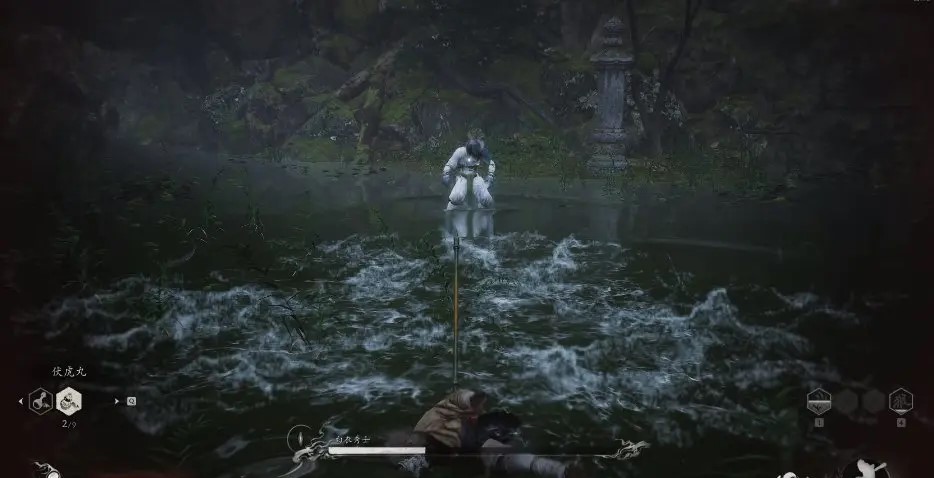
White-Clad Phase Two – Human-Headed Snake Body:
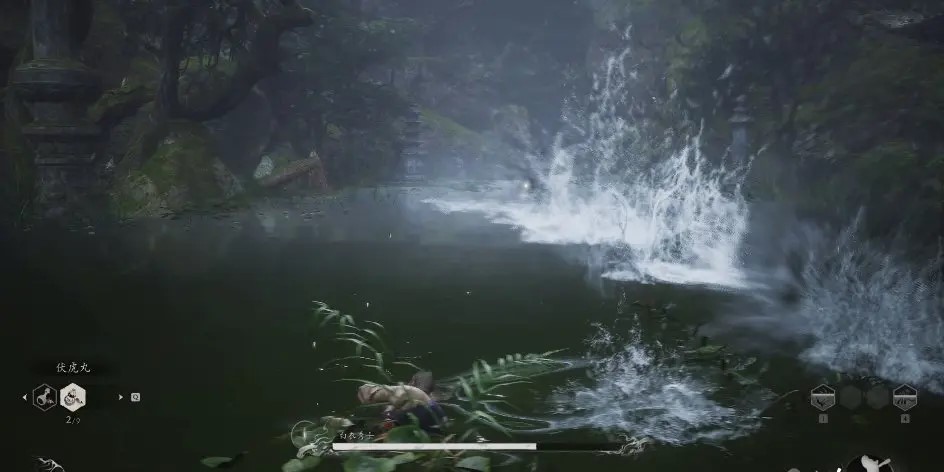
In Phase Two, White-Clad simplifies some skills. For example, Surging Waves’ explosion happens in one phase instead of two, making it more deceptive. He also introduces new abilities such as “Rapid Thrust (extremely fast),” “Water Barrage,” and “Water Blade Sweep.” His attack frequency and power increase significantly. To win against him, you need to closely observe his start-up motions and conserve your own abilities. Don’t recklessly use all your skills at once, as this could put you in a disadvantageous position.
VII. Black Wind King
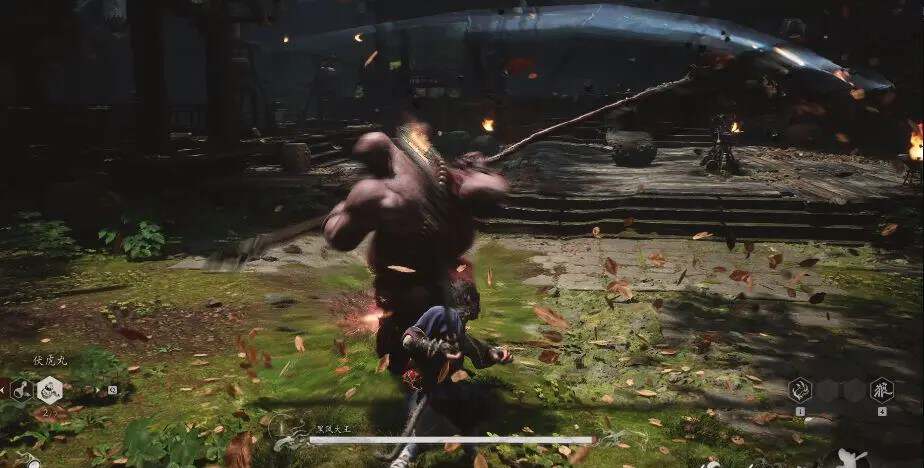
Positioning: Master of Guang Zhi and Guang Mou, he takes on the appearance of a large monk, with a bulky physique and immense strength. He is a power-based boss who is adept at using spells.
Threat Level: ★★★☆
Combat Moves: Vertical Left-Right Slash followed by a Downward Slash, Kicking Strike, Black Wind Transformation, Horizontal Slash followed by Uppercut, Murky Wine Flames, Staff Strike with Kick, etc.
Battle Experience: A nimble yet powerful monk, his moves are wide and aggressive. When fighting him, avoid being overly greedy with attacks. Instead, dodge his attacks wisely and use your own skills strategically.
Vertical Left-Right Slash followed by Downward Slash: The monk’s basic combo, relatively fast, can catch players off-guard, but the damage isn’t too high. If you can’t dodge, brace yourself and take the hit.
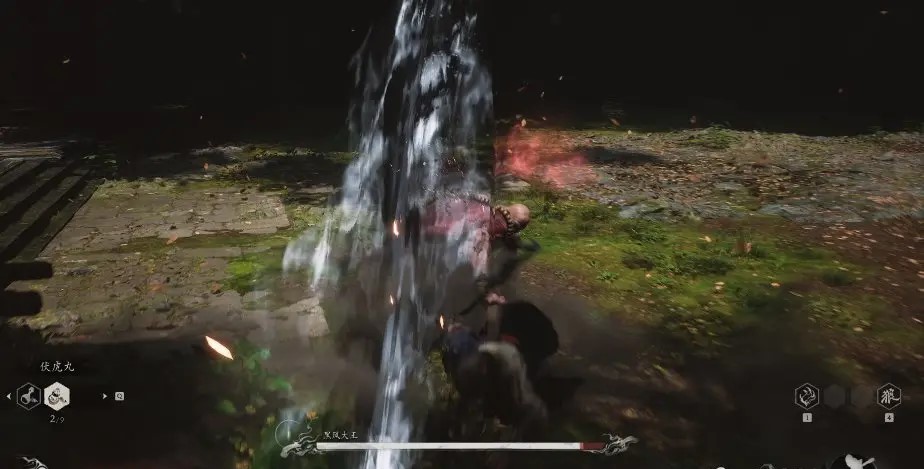
Kicking Strike/Staff Strike with Kick: One is a straightforward kick forward, while the other involves him propping his weapon up and kicking you with momentum. Both can be dodged by rolling based on the wind-up.
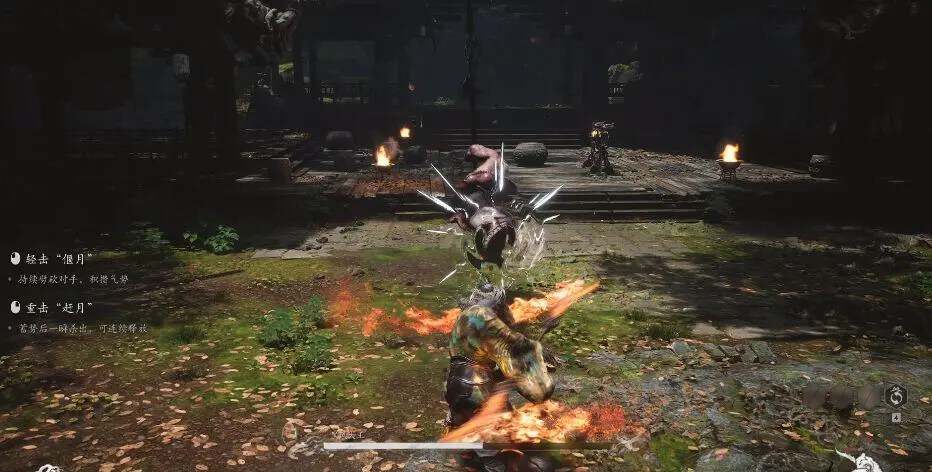
Black Wind Transformation: This is Black Wind King’s signature move. His body dissipates and turns into a whirlwind of black wind, swirling around the battlefield and charging at the player. When the black mist circles back, be ready to dodge. After several charges, a vortex will appear beneath the player, and you must quickly escape the area. A few seconds later, Black Wind King will descend from above, causing an explosive impact.
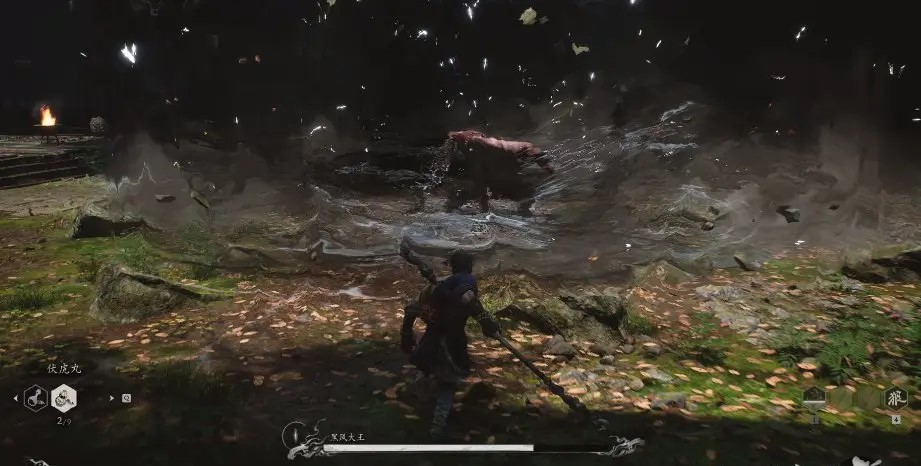
Horizontal Slash followed by Uppercut: A basic combo, with the residual energy from the uppercut looking particularly impressive.
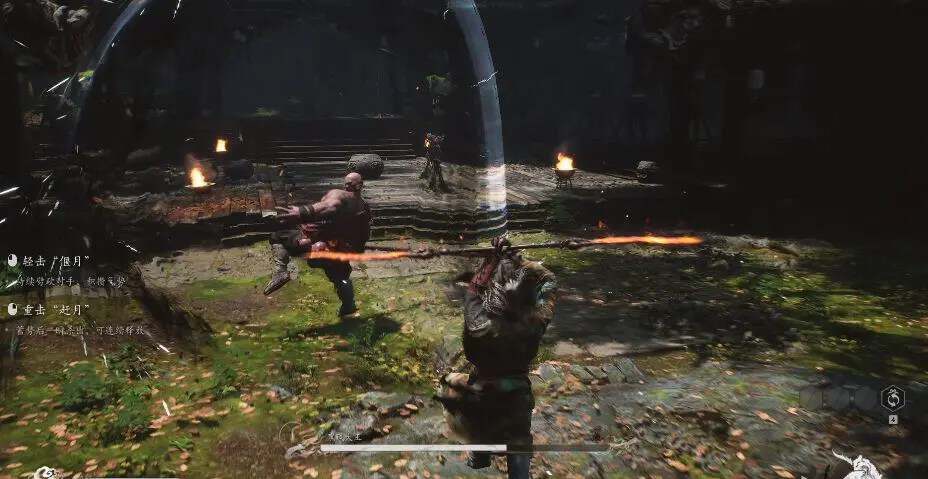
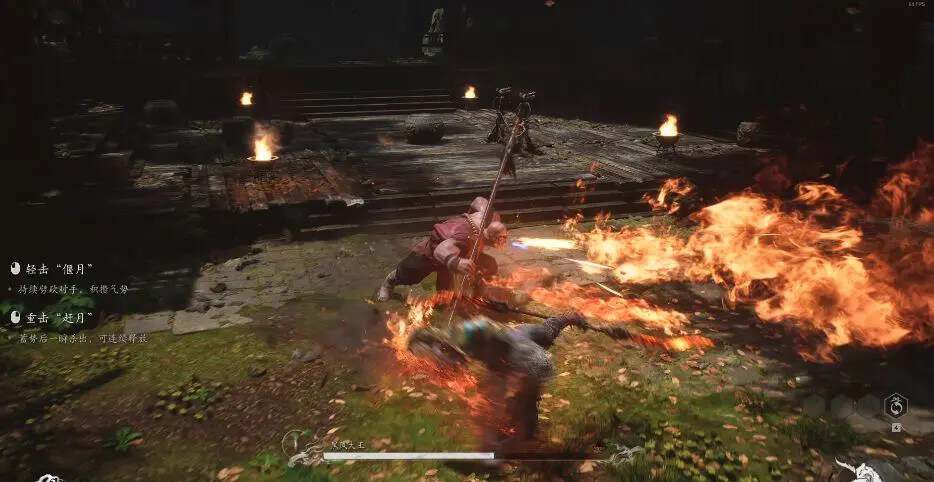
Murky Wine Flames: One sip of murky wine, one sip of sorrow, transformed into flames that rage across the land. The monk drinks deeply from a bottle of fiery liquor and then sprays flames in a fan-shaped area in front of him. The damage is massive, and if you take the full hit, it could result in instant death. If you see him lean forward and extend his head, run immediately!
VIII. Elder Jinchi
Positioning: An enhanced version of the Ghost Soul. Anything that Big Head can do, he can do better—and he even surpasses Big Head in controlling the undead to fight for him. Despite his glowing golden appearance, he is extremely dangerous!
Threat Level: ★★★★
Combat Moves: Rushing Charge, Whirling Strike, Golden Palm, Skyward Leap, Commanding the Dead (Self-Destructing Corpse Swarm), Commanding the Dead (Essence Absorption Technique), Stomp Attack, Iron Head Ground Smash.
Battle Experience: You can use the same strategies as you did with the Ghost Soul, but you’ll need to learn how to avoid a few key abilities… The moves like Rushing Charge, Whirling Strike, Golden Palm, and Skyward Leap have been mentioned earlier, so they won’t be repeated here.
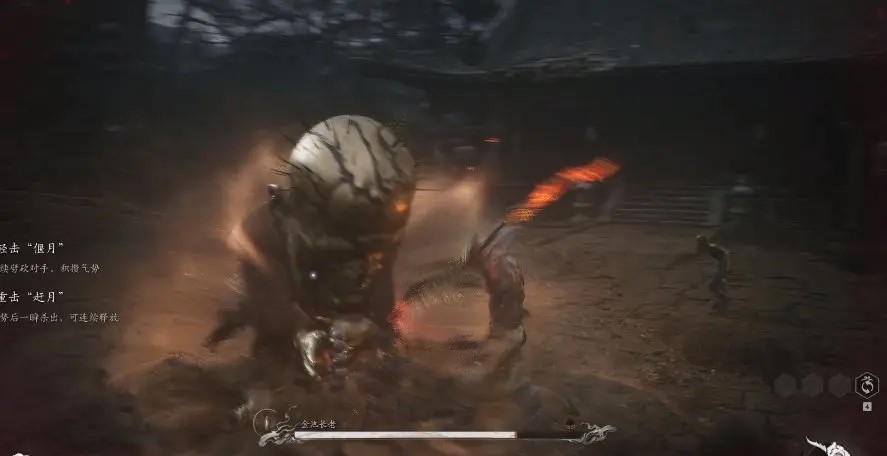
Stomp Attack/Iron Head Ground Smash: One attack uses the foot, the other the head, both aiming at the player with large AoE strikes and substantial damage. These skills have minimal wind-up, so you must rely on quick judgment to dodge by rolling.
Commanding the Dead (Self-Destructing Corpse Swarm): Jinchi summons all the mummified corpses from the temple to charge at the player. The corpses move faster during this skill, and when they reach the character, they self-destruct. The counter-strategy is to keep moving and roll to the left or right as soon as you see the corpses begin to glow with golden light.
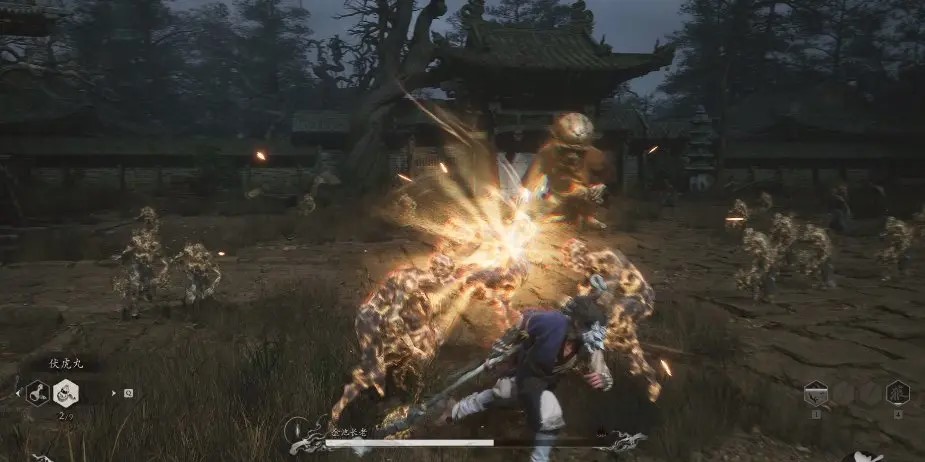
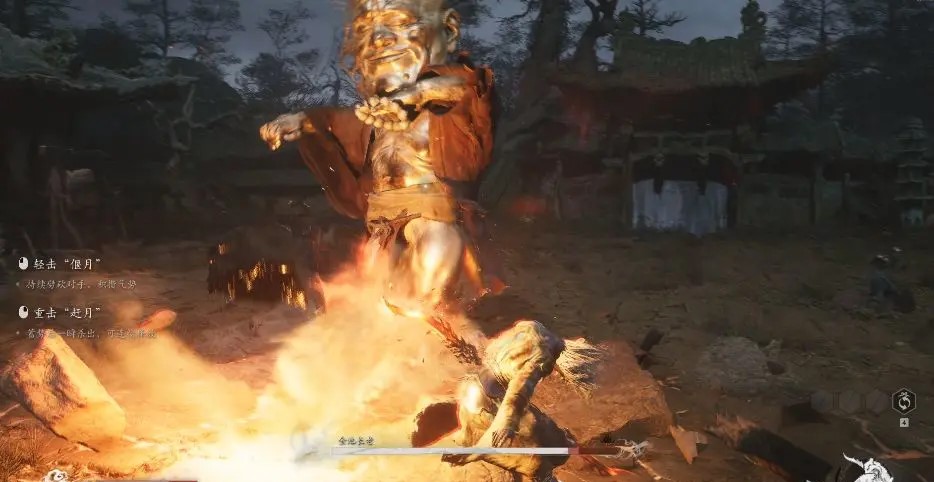
Commanding the Dead (Essence Absorption Technique): This skill activates once Jinchi’s health drops below half. At this point, he transforms into an invincible statue and commands the corpses in the temple to gather around him, restoring his life essence. To counter this, the player must eliminate the walking corpses one by one to prevent them from reaching Jinchi.
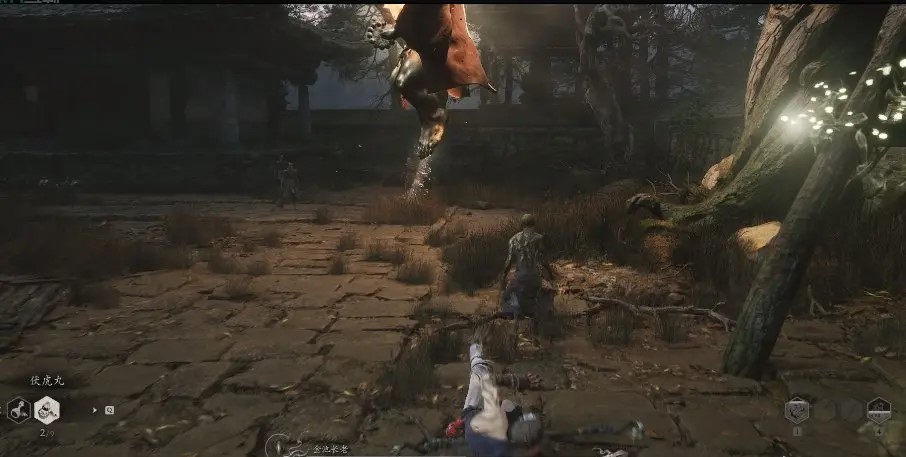
[Elder Jinchi is a hidden boss. The condition to trigger his appearance is to defeat Guang Zhi, Guang Mou, and White-Clad Scholar, and then ring the three nearby bells.]
IX. Black Wind Mountain Boss—Black Bear Demon
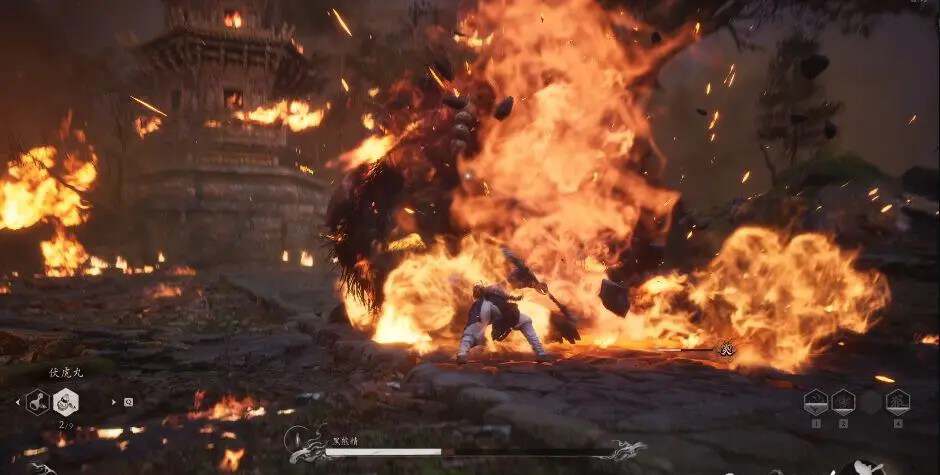
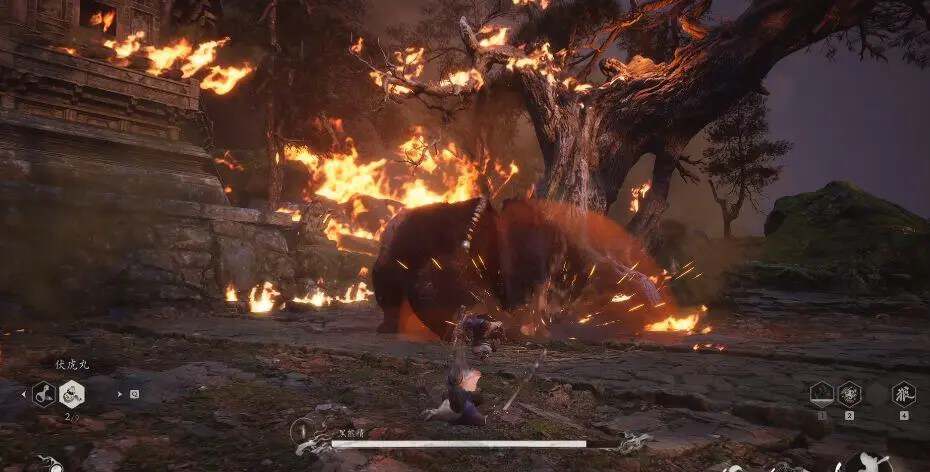
Positioning: A chapter boss and a nightmare for many new players. In his second phase, he attacks covered in flames, with massively enhanced attack power. His fiery strikes and brutal punches hit hard, while his chaotic Black Wind Assault can easily overwhelm players, resulting in instant death if you’re not careful!
Threat Level: ★★★★
Combat Moves: Ground Slam, Mount Tai Press, Pounce Attack, Iron Body Slam, Enhanced Black Wind Transformation, Fire Infusion Enhancement, etc.
Battle Experience: Black Bear’s attack patterns are not particularly complex, but their sheer power and his enormous size can easily cause players to misjudge timing and roll too early, missing the perfect dodge window.
Ground Slam: Black Bear Demon swings his giant bear paw to slam the ground, dealing massive damage. This move has a noticeable wind-up, so it can be dodged with proper timing.
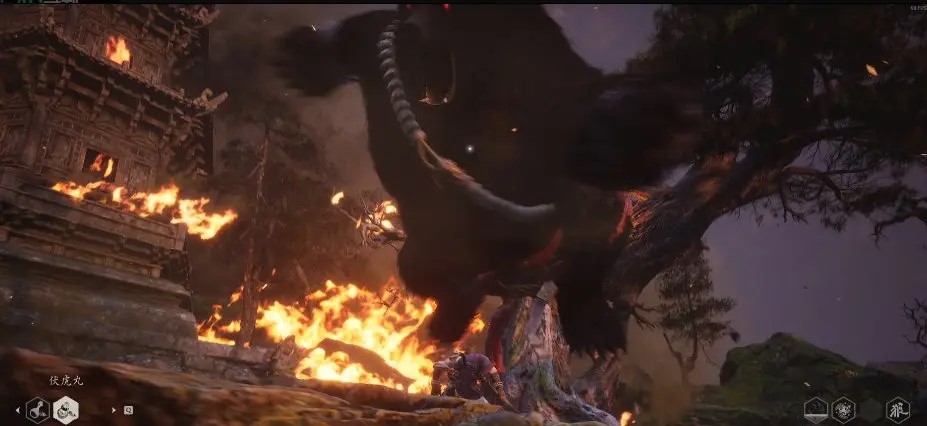
Mount Tai Press: The Black Bear Demon leaps high into the air and either slams his solid back or front onto the player. The timing between these moves varies, so the player must carefully judge when to roll.
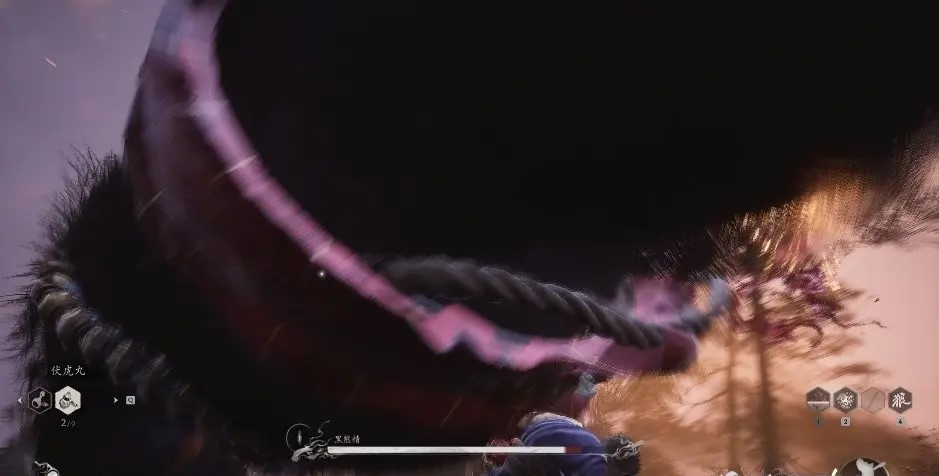
Pounce Attack/Iron Body Slam: After throwing a tantrum, the Black Bear Demon charges and slams into the player. The wind-up for these moves is short, making it difficult to predict.
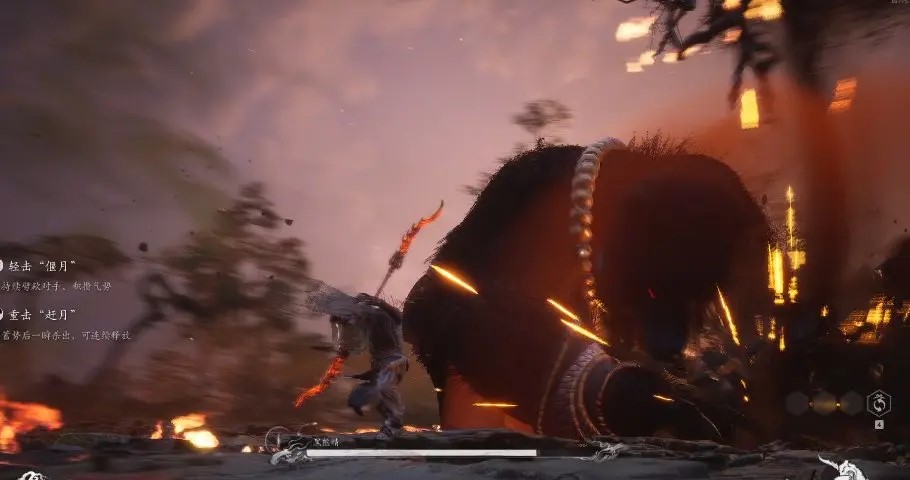
Enhanced Black Wind Transformation: This is his core skill, where he disperses into a black wind and charges at the player. After the enhancement, the wind attack becomes even faster, making it almost impossible to predict. It’s recommended to constantly roll or transform into Guang Zhi to reduce the chance of being hit.
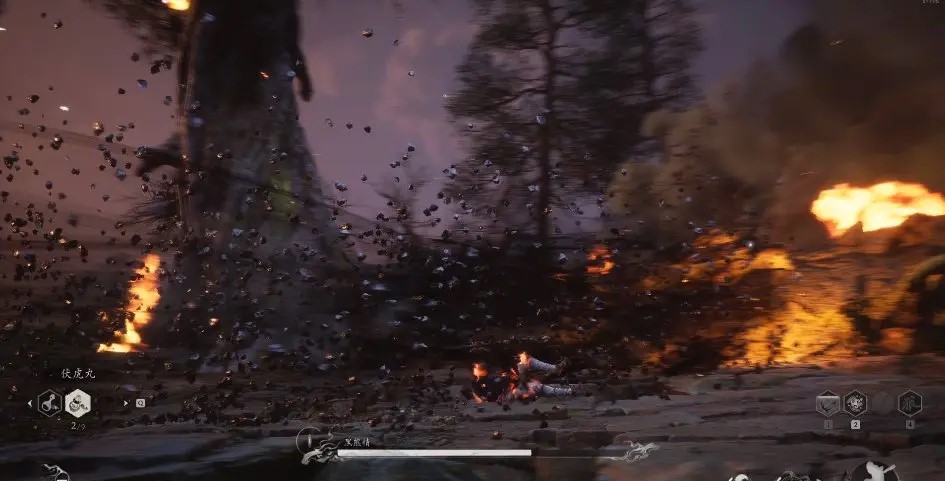
Fire Infusion Enhancement: This enhancement adds fire damage to all his attacks. With flaming fists and fiery slams, the player must avoid prolonged combat. Instead, use transformation skills and immobilizing techniques, as well as dual-stage staff attacks to interrupt his assault and quickly defeat the Black Bear Demon.
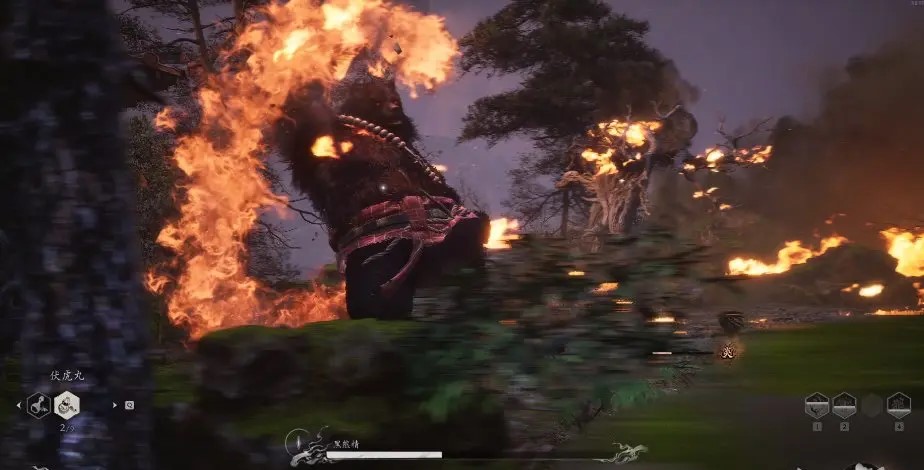
It’s worth noting that after defeating Elder Jinchi, you can obtain a special item: the Fire Repelling Cloak, which provides effective protection against surrounding flames and increases fire resistance. This is a valuable tool for countering the Black Bear Demon’s fiery attacks.
